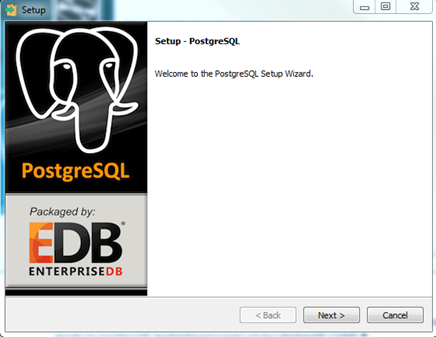
...
- Download PostgreSQL from here: https://www.postgresql.org/download/windows/
- Install PostgresSQL by following the installation wizard. Make sure that Stack builder is launched when the installation is completed.
- Select PostgresSQL 9.5 and press next.
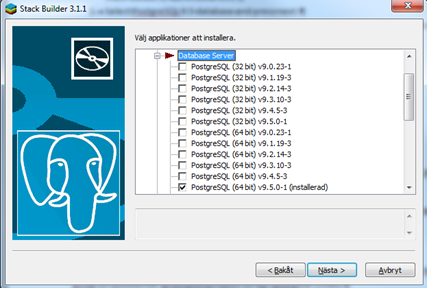
- Select Categories à Database Server and select PostgreSQL, see the picture below
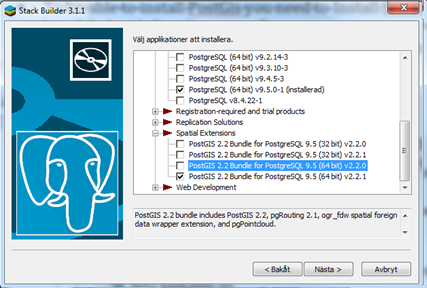
- Scroll down to Spatial Extensions part, select PostGIS Bundle for PostgreSQL, see picture below. Press next.
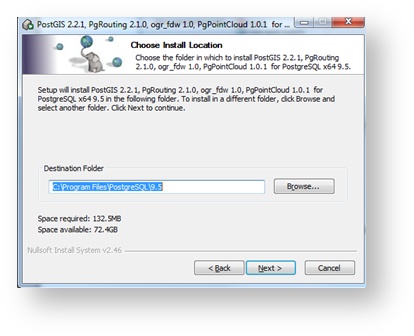
- Select Download path for the packages and click next and follow the remaining installation instructions.
- When PostgresSQL setup is shown click next several times so that the PostgreSQL installation phase starts.
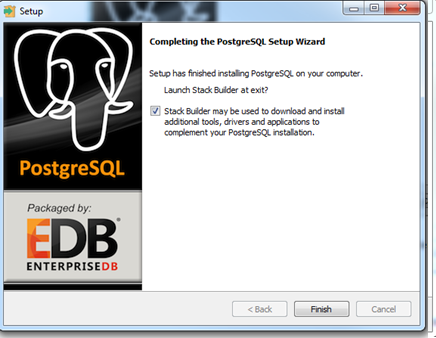
- The PostgresSQL installation is completed when following printout is presented. Select the checkbox and click on the finish button to close the PostgreSQL setup and continue with the Stack Builder installation.
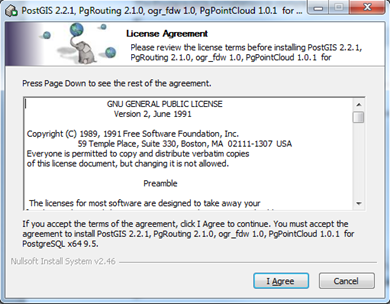
- The PostGIS installation setup starts.

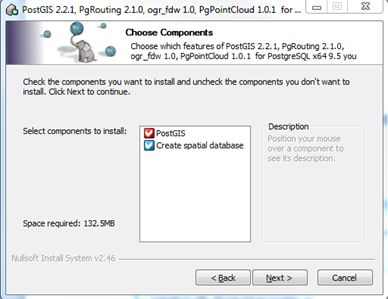
- Select “Create spatial database and click next.
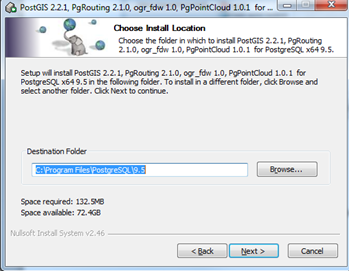
- Click next on installation location.
- Enter the admin password where you have set during the installation in step 2. If you encounter a spatial database installation error similar to the below, please try installing again from step 2:
“createdb: could not connect to database postgres: FATAL: password authentication failed for user "postgres"”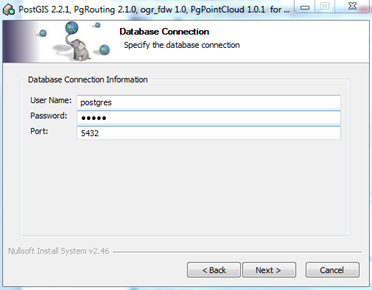
- Click on install.
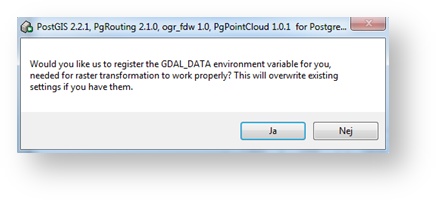
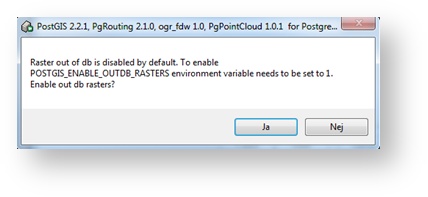
- Click on Yes if following popup windows occurs.
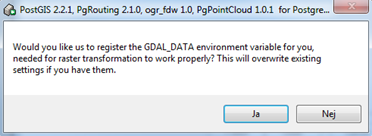
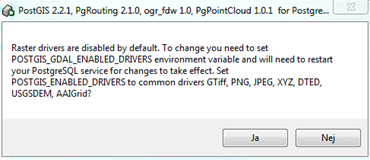
- Click on Yes if following popup windows occurs.
- Click on Yes if following popup windows occurs.
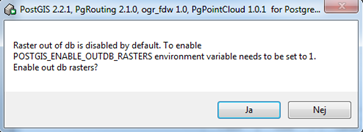
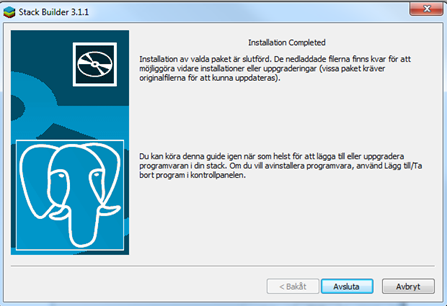
- Click on close to finish PostGIS installation.
- Click on the abort button in the stack builder setup and reboot the computer.
Configure PostgresSQL with PostGIS extensions
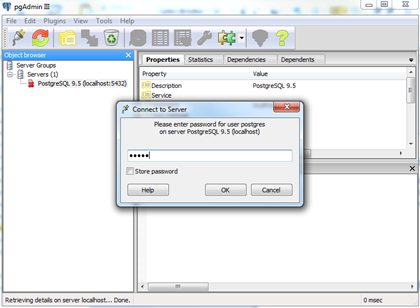
- Startup pgAdmin III application.
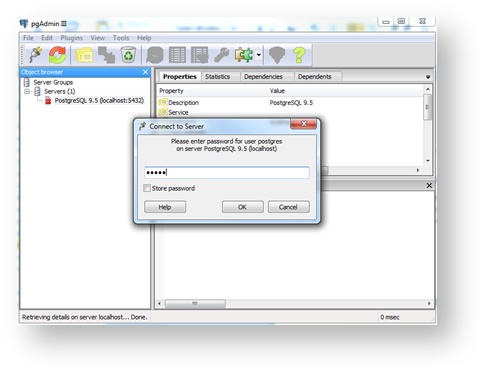
- Double click on the PostgreSQL 9.5 (localhost:5432) and enter the admin password. It is the one you set during installation of PostgresSQL in the chapter before. See picture below.
- Right click on Databases and create a new database with following credentials.
Name: uvms
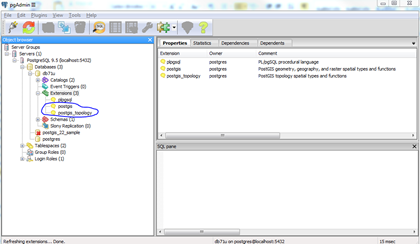
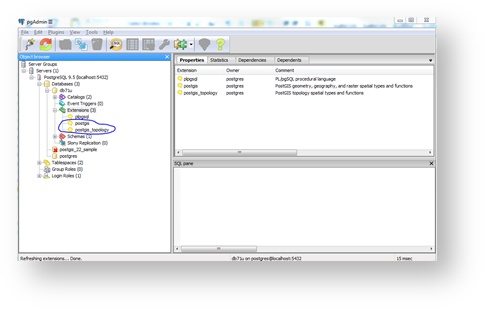
Owner: postgres - Expand the uvms database and right click on Extensions and select New Extensions. In the popup window select postgis from the dropdown list, then click OK. Repeat this step to add extension postgis_topology. When you are done you will see those two new extensions you have added under Extensions as the picture below.
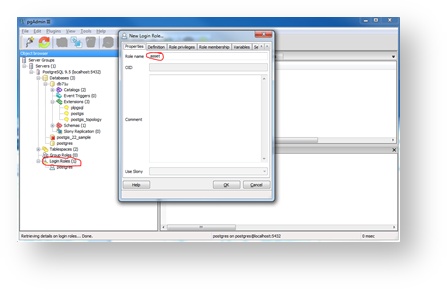
- Add a new Owner/Login Role by right click on Login Roles. Enter role name asset
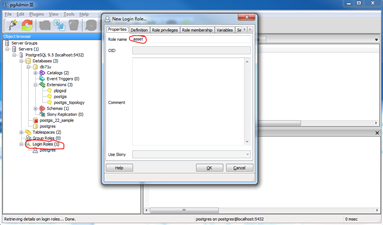
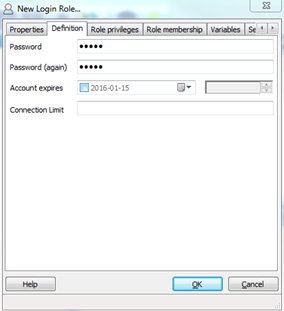
- Click on the Definition tab and enter password asset in the password fields and click OK.
- Please repeat steps 5 and 6 for following Login Roles:
Role name | Password |
|---|---|
asset | asset |
audit | audit |
config | config |
exchange | exchange |
mobterm | mobterm |
movement | movement |
rules | rules |
reporting | reporting |
usm | usm |
spatial | spatial |
8. Add a new schema by right click on Schemas. In the popup window fill in the name and select an owner, see the table below.
Schema name | Owner |
|---|---|
asset | asset |
audit | audit |
config | config |
exchange | exchange |
mobterm | mobterm |
movement | movement |
rules | rules |
reporting | reporting |
usm | usm |
spatial | spatial |